Setting up Warehouse
The warehouse setup includes defining warehouse locations, organizing storage areas, and configuring stock management settings. By setting up warehouses, businesses can track inventory levels, manage stock transfers between locations, and optimize order fulfillment processes. The warehouse management capabilities in the POS system help businesses maintain accurate inventory records, streamline stock movements, and ensure efficient order processing. Additionally, warehouses can be assigned specific attributes and configurations based on the unique needs of the business, such as storage capacity, picking strategies, and shipping methods.
Step 1: Click the "Create" Button

Step 2: Create new Warehouse
After clicking the create button, you can proceed to set up a new warehouse in the POS system by providing the following information:
- Enter the name or identifier for the warehouse.
- Specify the physical address of the warehouse location.
- Enter the city where the warehouse is located.
- Provide the zip code or postal code of the warehouse's location.
Once you have entered the required details, click on the create button to create the new warehouse in the POS system.
STEP 3: "View, Edit or Delete" Button
Edit and Delete
In the warehouse management section of the POS system, you have the option to edit and delete existing warehouses. By selecting the warehouse you wish to modify, you can make changes to its name, address, city, and zip code. Alternatively, you can choose to delete a warehouse if it is no longer needed.

View
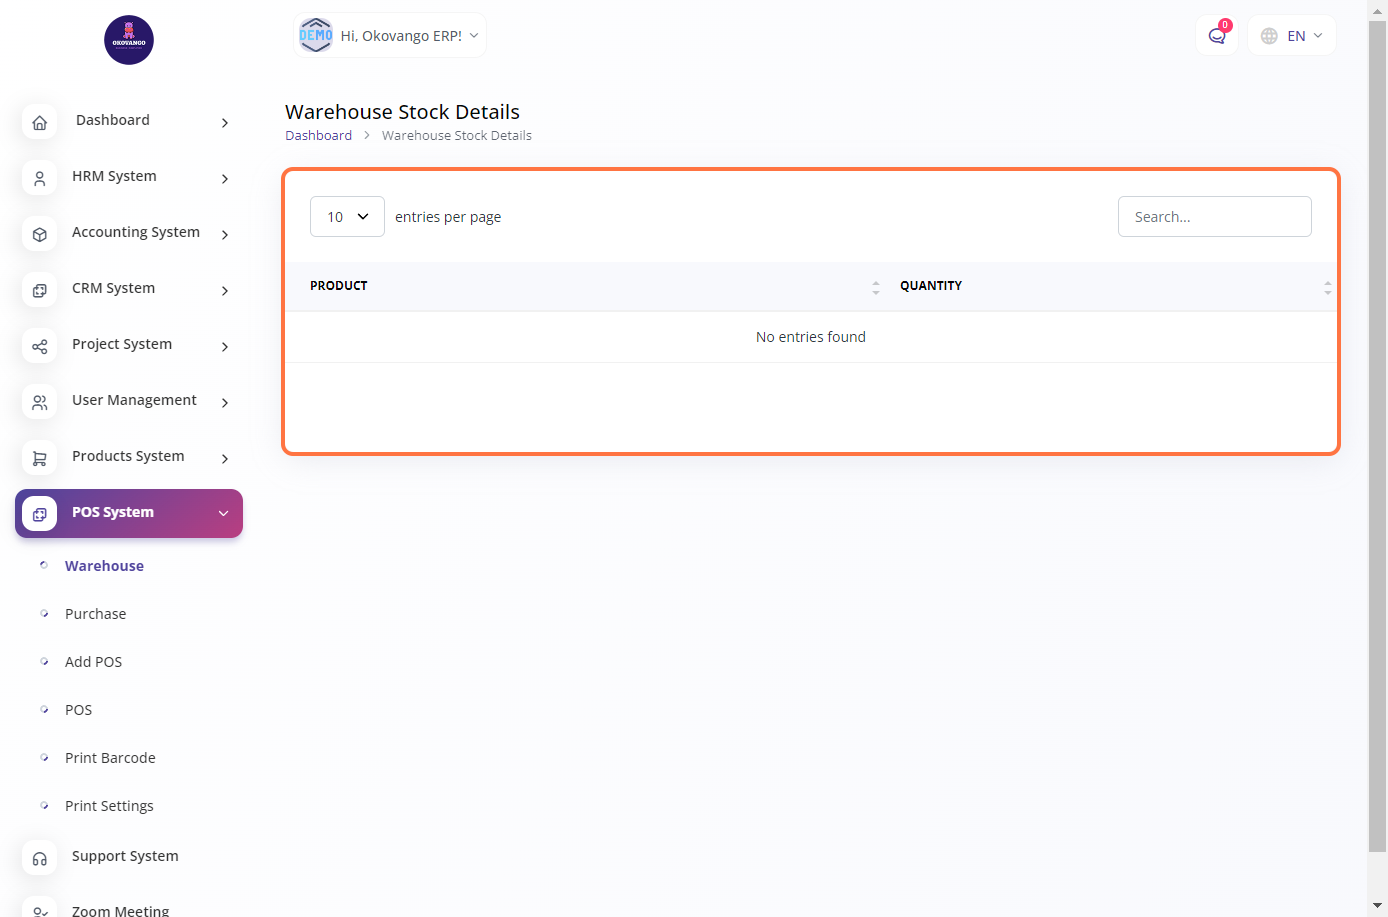
In the warehouse management section of the POS system, you can view the details of each warehouse. This allows you to access information such as the warehouse name, address, city, and zip code. By viewing the warehouses, you can have a comprehensive overview of your inventory distribution and logistics.


