Setting up Budget Planner
The budget planner helps you track your income, expenses, savings, and financial goals. It provides a clear overview of your financial situation and allows you to allocate your funds effectively, prioritize savings, and work towards achieving your financial objectives.
Step 1: Click the "Create" Button

STEP 2: Create New Budget Planner
After clicking the create button, you can set up the budget planner by entering the following details:
1. Provide a name for the budget planner, such as "Monthly Budget" or "Annual Financial Plan."
2. Specify the period for which the budget will apply, such as monthly, quarterly, or yearly.
3. Select the specific year for the budget, such as 2022 or 2023.
4. Finalize the setup by clicking the create button to create the budget planner.
Once created, you can start entering your income, expenses, savings, and financial goals to effectively manage your finances and track your progress towards your financial objectives.
STEP 3: "View, Edit or Delete" Button
Edit and Delete
You have the option to edit or delete it. Editing allows you to modify the name, budget period, or year of the planner to align with any changes or updates. Deleting the budget planner removes it from the system, including all associated data and records. It is important to exercise caution when deleting a budget planner as it may lead to permanent data loss.
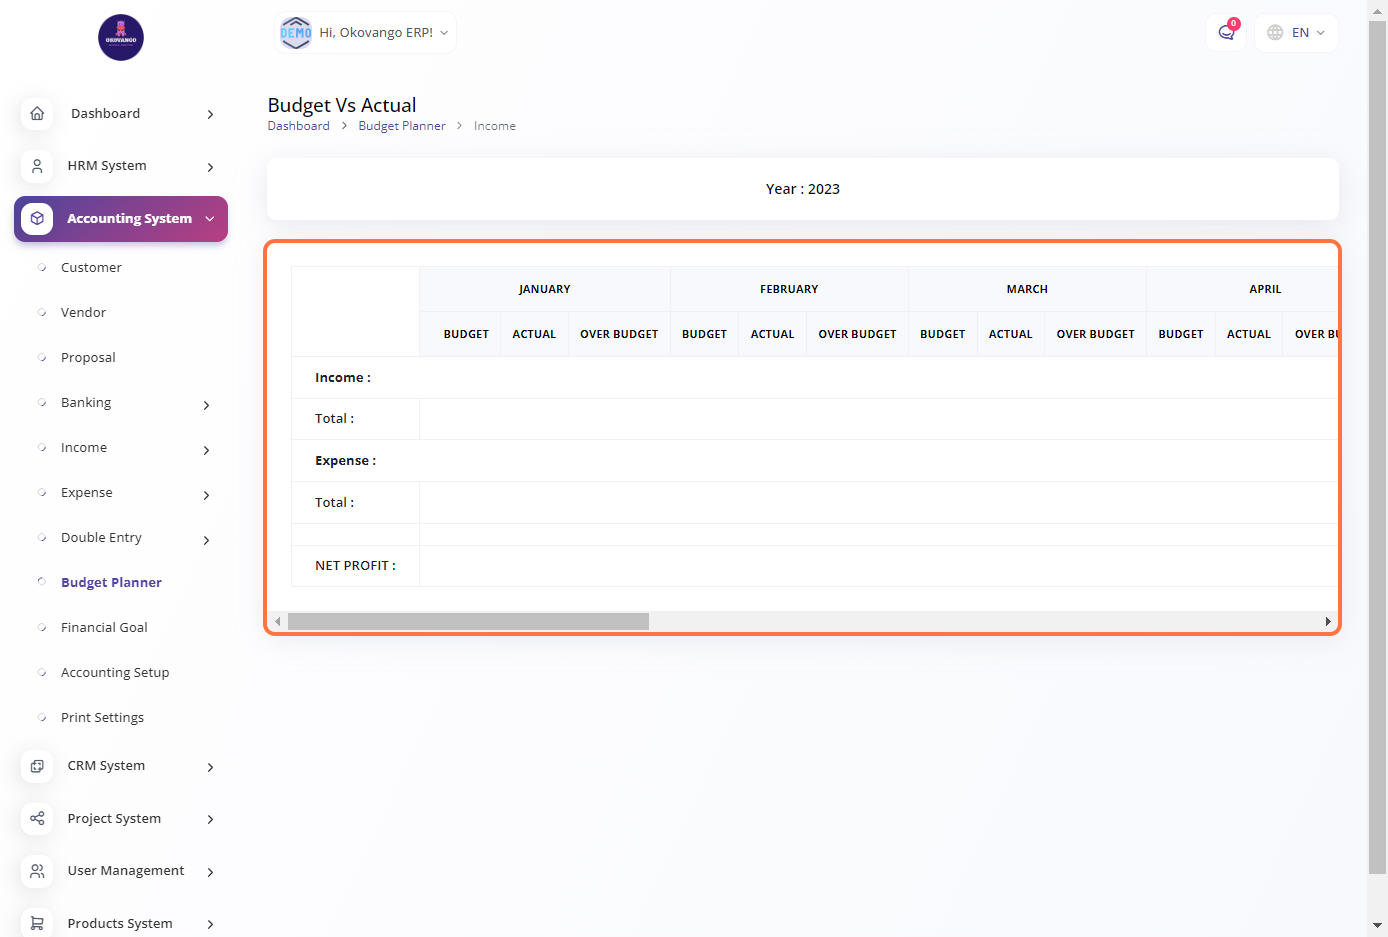
View
Viewing the budget planner allows you to access and review the details, such as the name, budget period, and year, as well as any associated financial data and records. This provides a comprehensive overview of the budget plan and helps in monitoring and analyzing financial performance.


